Add My Media Content to a Course Module
For video upload and closed captions instructions, read these previous stories:
DETI Basics: My Media – An Overview of the My Media Repository
DETI Basics: Kaltura Capture – Record and Upload a Video
DETI Basics: Closed Captions – How to Use the Closed Captions Editor
Why Embed a Recording?
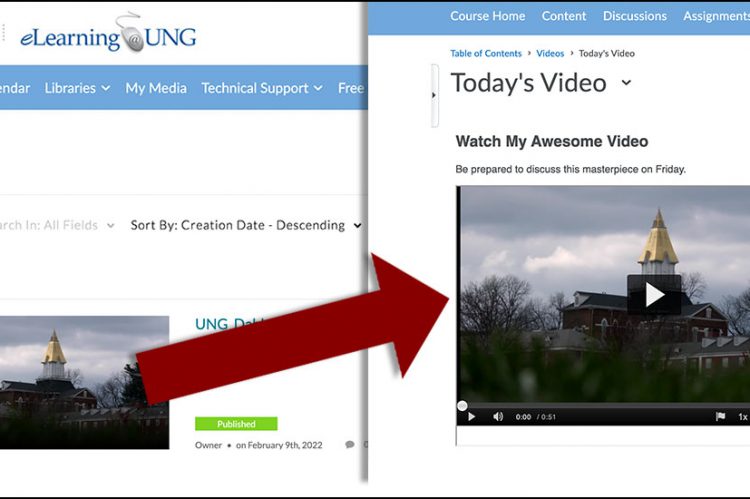
Embed code (special HTML code) is used to place a video player in an eLearning@UNG (D2L) file. The video player allows a student to watch a recording in a course, on almost any device, without leaving the D2L page.
My Media recordings embedded in D2L files have a video player with closed captions, a transcript, and can be played on a slow internet connection.
How to Embed a My Media Recording
Inside an eLearning@UNG (D2L) course, click the Content link on the blue navbar.
My Media recordings can be embedded in a new or existing D2L file. We are creating a new file in this example.
Step 1 Click on a course module or create a new one.
Step 2 Click the Upload / Create button.
Step 3 Select Create a File from the drop-down menu.

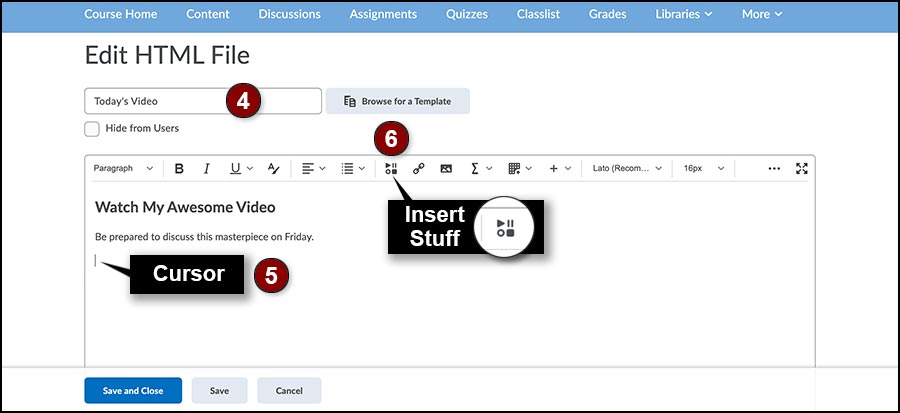
Step 4 Type a title in the box at the top of the Brightspace Editor.
Step 5 Add text, photos, or graphics in the Brightspace Editor. The Kaltura Video Player will be placed at the cursor location on the page.
Step 6 Click the Insert Stuff icon on the top icon bar. It looks like a collection of shapes – a triangle, circle, parallel lines, and square.
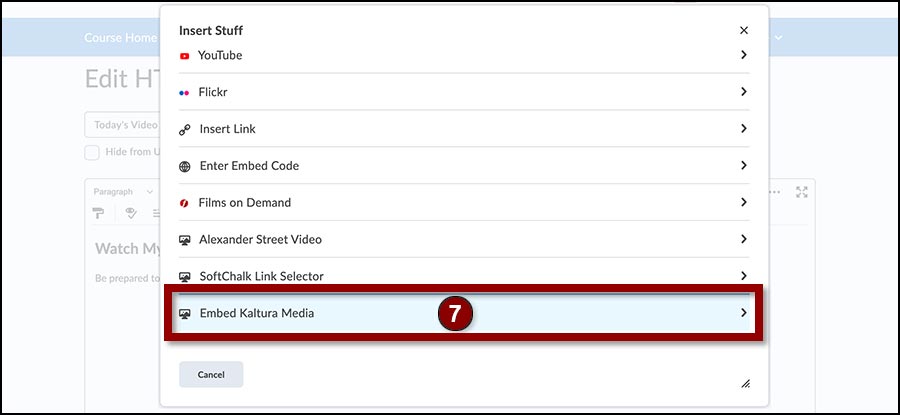
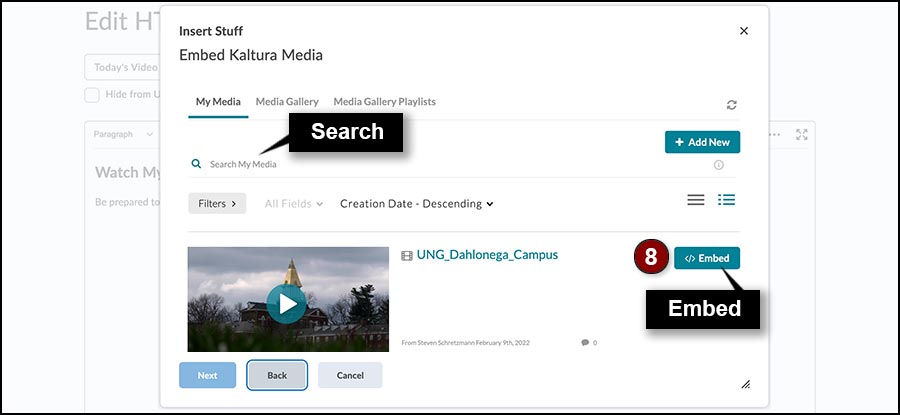
Step 7 Scroll down to the bottom of the Insert Stuff menu and select the Embed Kaltura Media link.
Use the Search feature to locate a My Media recording or scroll through the list of recordings.
Step 8 Click the Embed button to the right of the video’s title.
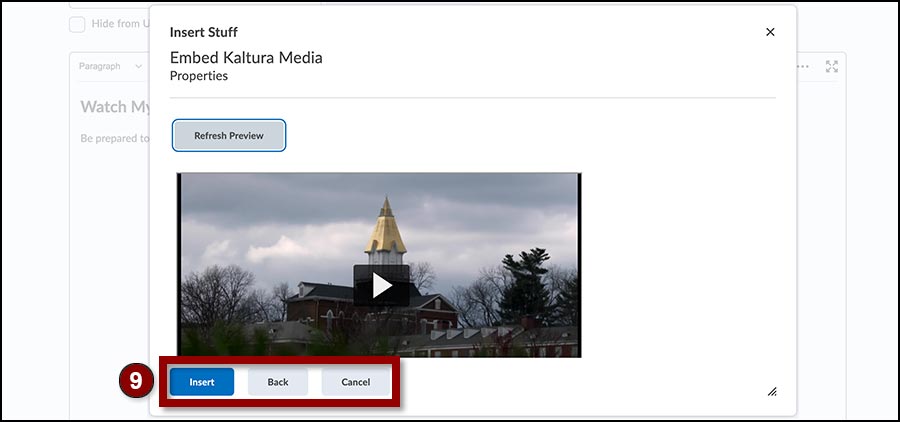
Step 9 Click the Insert button to embed the media.
Step 10 Click Save and keep working on the file or click Save and Close when done.
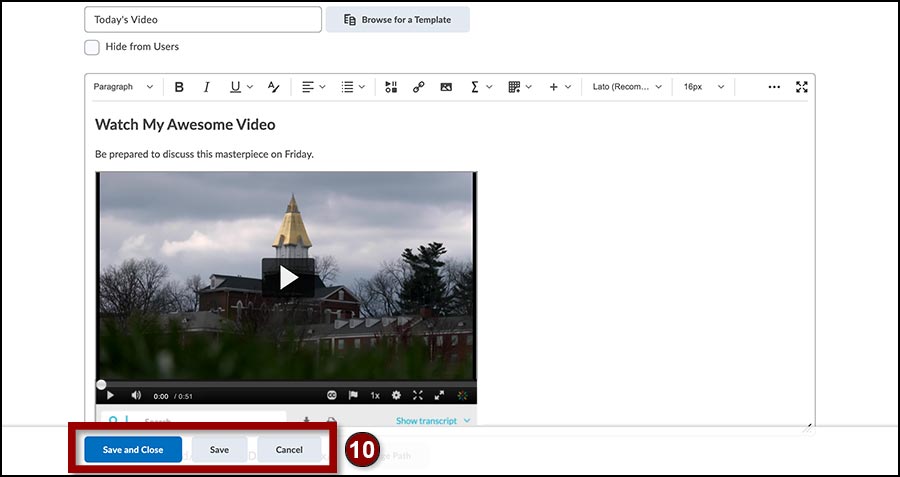
Additional content, including embedded recordings, can be added to the file.
Caution: Don’t Upload Media to a Module
D2L Brightspace does provide a way to upload media (audio or video) directly to a course module. Don’t do it. These recordings are NOT closed captioned and are NOT streamed. It may be impossible for a student to watch the recording on a slow internet connection, or it may take a very long time to download and view the file.
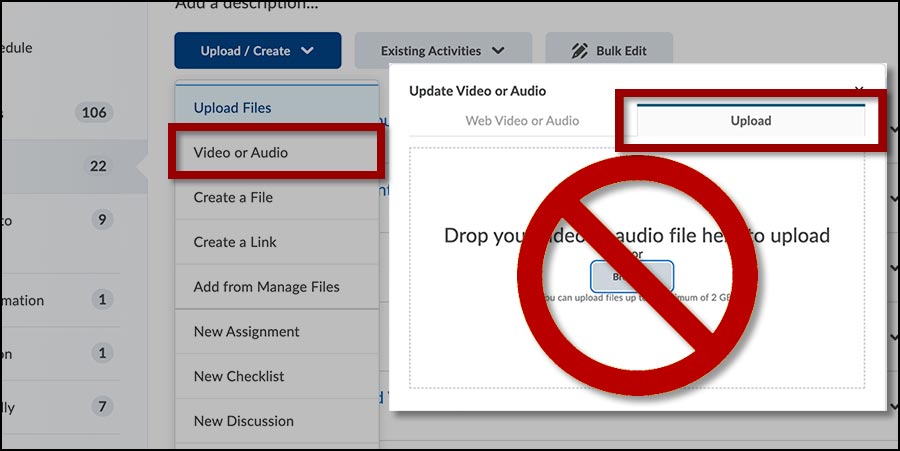
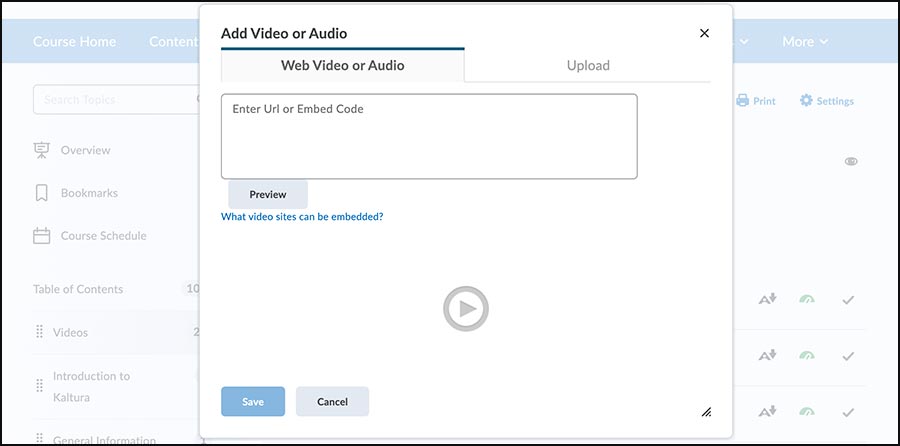
The Video or Audio link on the Upload / Create drop-down menu can be used to embed one large video from an external source. Additional text or other content cannot be added. It is a single video.
Paste the URL or embed code in the Web Video or Audio box and click save. This works with YouTube videos but does not work on many other websites.
Note: Be sure the recording has accurate closed captions before posting any videos online for students.
Resources
Visit the DETI Basics Section