Log in and Upload a Recording to Kaltura
UNG’s Video platform, Kaltura, is primarily used to store, closed caption, embed, and stream media in eLearning@UNG (D2L) course modules.
First-time Kaltura users should log in to UNG’s MediaSpace website. This will add the user’s name to the Kaltura database and allow sharing and collaboration of recordings with others, including the DETI staff.
My Media Files are the Same
The My Media repository in UNG’s MediaSpace contains the same recordings that are in My Media repository in eLearning@UNG (D2L). However, MediaSpace does not include Brightspace by D2L content. It only has media files. The layout is a little different but My Media in MediaSpace and D2L are both Kaltura.
Media can be uploaded and edited in both websites.
How to Log in to MediaSpace
1. Go to https://deti-media.ung.edu/.
2. Click Guest on the top right corner.
3. Select Login from the drop-down menu and sign in using UNG credentials.
4. The user’s name is now on the top right corner of the page and the drop-down menu includes the Logout link.
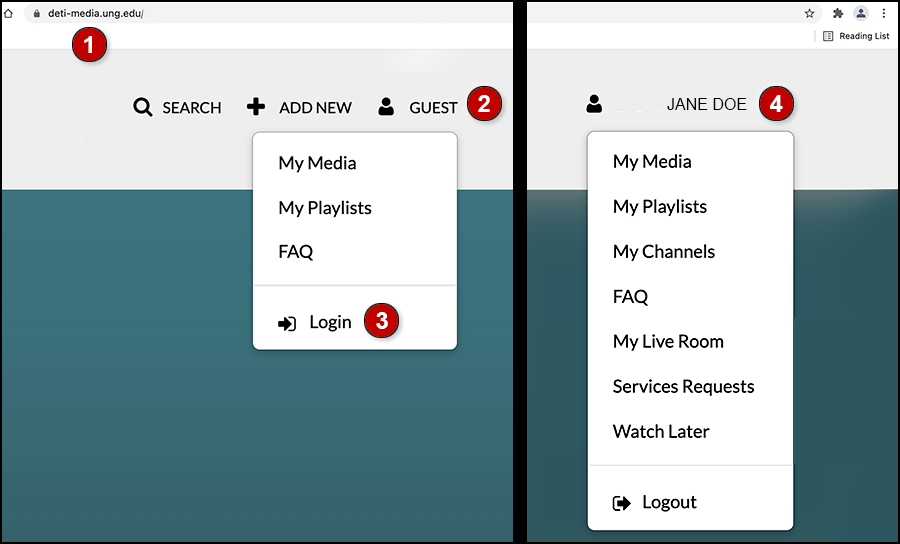
Note: Alternatively, a user can log in by clicking Add New and selecting Media Upload from the menu. After entering UNG credentials, the user can begin uploading a file.
How to Upload a Media File
Kaltura will accept many media file formats. However, we recommend uploading MP4 movie files or MP3 audio files because of their small size and quick upload time.
Add Media to the Kaltura My Media Repository
5. Click the Add New button next to the user’s name and select Media Upload from the drop-down menu.

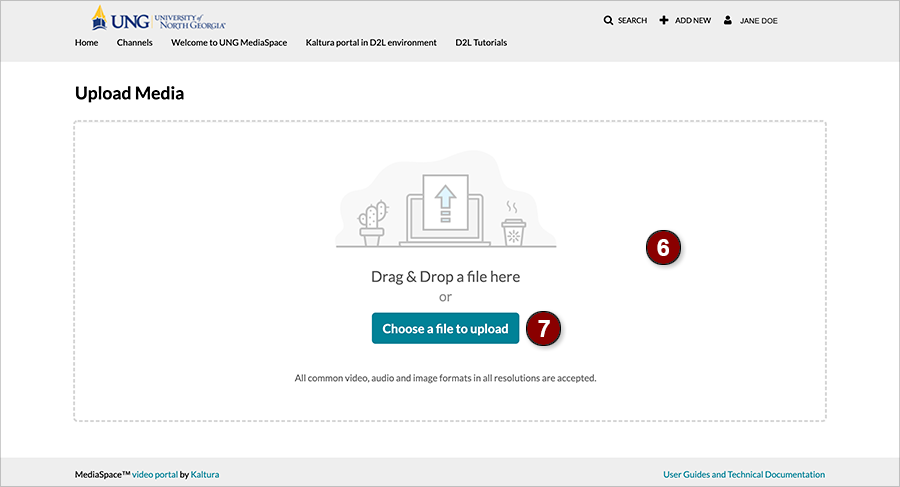
6. Drag and drop a media file to the page or
7. click the Choose a File to Upload button. Navigate to the computer file, click the file name, and click Open
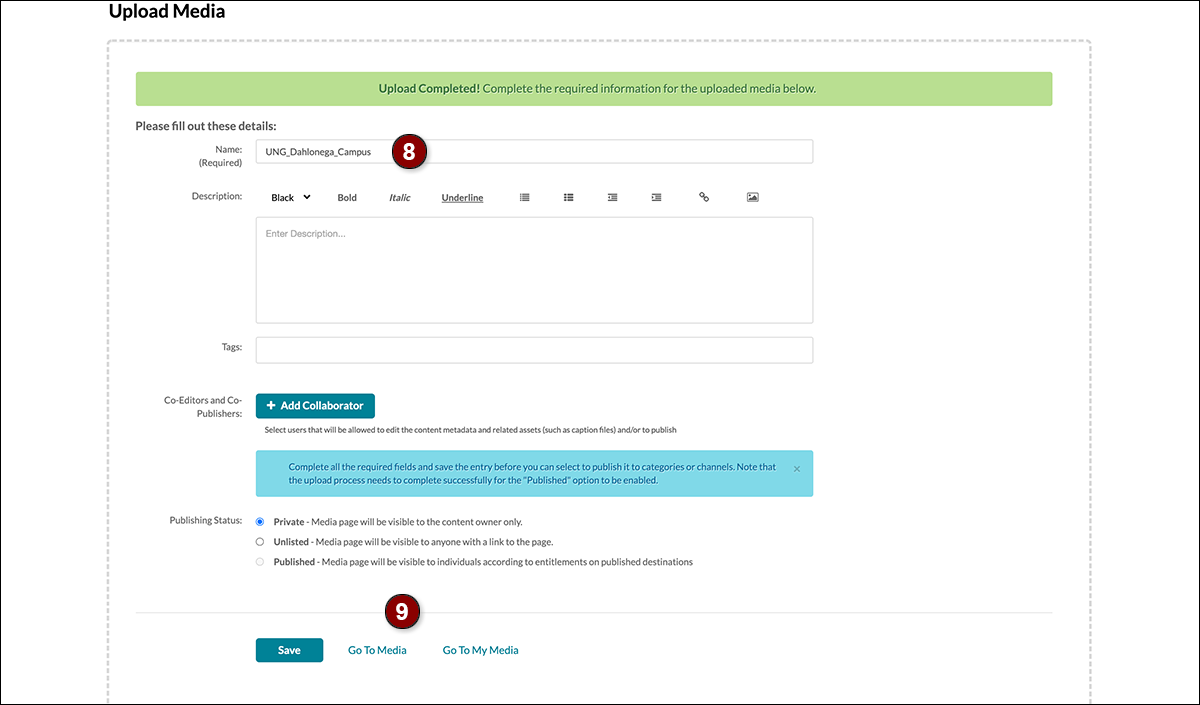
The upload indicator bar across the top of the screen will turn green when the file upload is complete. However, Kaltura will continue processing the file. It creates a mobile-friendly copy, closed captioning, a transcript, and tags.
8. Only the file name is a required field. It does not have to be changed.
Save Changes
Any changes must be saved before leaving the page or the changes will be lost.
9. Click the Save button to save any edits.
There are three options:
- scroll down the page and then upload an additional recording, or
- click Go to Media to open the media file in a large media player, or
- click Go to My Media to see this and other recordings in the My Media repository.
Processing Time
Allow Kaltura time to process the recording and create automatic closed captions. In the My Media repository, tags will appear next to the media’s thumbnail image when processing is complete. Tags can be edited, and additional tags can be added manually.
The processing status can be checked by clicking the media’s thumbnail image or title in My Media. The “processing” animation will be displayed until the upload processes are complete.
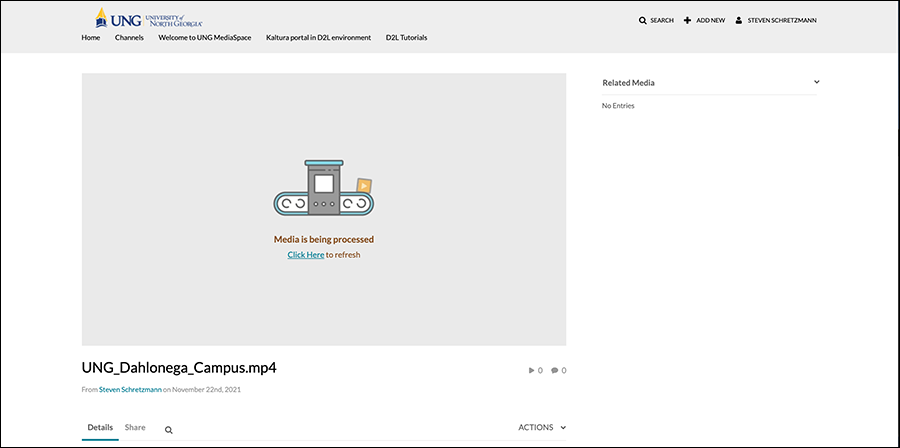
Kaltura displays an animated “processing” graphic while tags, closed captions, a transcript, and a mobile device version of the recording are created.
Processing time depends on the length of the video and the volume of recordings being processed by Kaltura.
How to Log Out
To log out, click the user’s name on the top right corner of MediaSpace and select Logout from the drop-down menu.