Download and Install the Kaltura Capture App
UNG’s Video platform, Kaltura, is primarily used to store, closed caption, embed, and stream media in eLearning@UNG (D2L) course modules.
Kaltura provides a free app that is ideal for recording audio, video, and screen content with a webcam-enabled computer. Recordings can be uploaded using the app to My Media and embedded in an eLearning@UNG (D2L) course.
Note: Recordings uploaded to My Media are also automatically closed captioned, and a transcript is provided with the video player. Machine captioning is very good, but corrections are need to improve accessibility.
How to Download the Kaltura Capture App
For login instructions see UNG MediaSpace – Part 1: Log in and Upload a Recording to Kaltura (December 2021 DETI Digest)
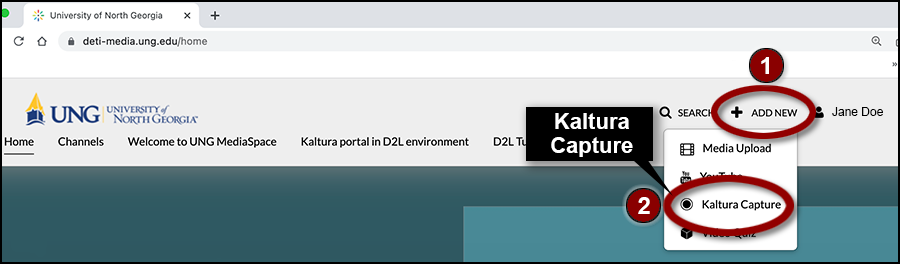
Log in to UNG MediaSpace
1. Click the Add New button.
2. Click Kaltura Capture from the drop-down menu.
The app can be installed on Windows or Mac computers. It cannot be installed on mobile devices or tablets.
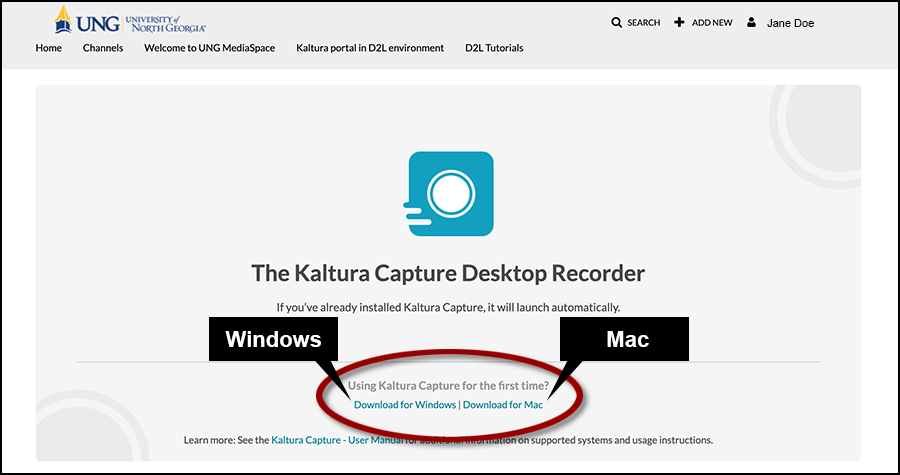
For Windows Computers
Click the Download for Windows link.
After the “KalturaCapture_(version).msi” file has downloaded, double-click the .msi file and follow the Setup Wizard instructions.
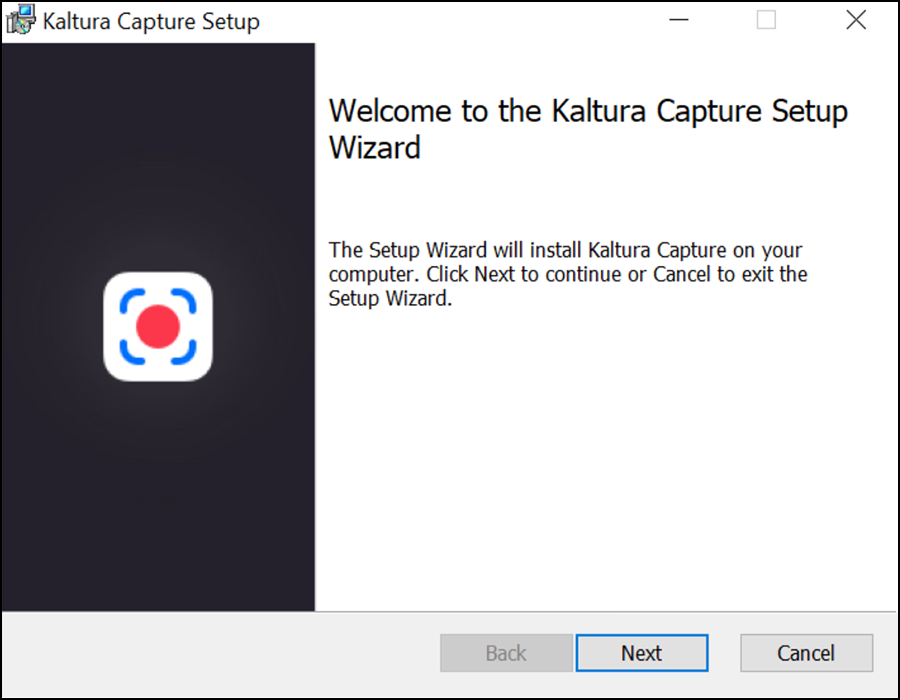
When installation is finished, the Kaltura Capture app will open and a shortcut will be placed on the computer’s desktop.
Note: The app must be associated with the user’s My Media repository before use. Quit the Kaltura Capture app and follow the “Connect the App to My Media instructions” below the Mac Computer instructions. Leave UNG MediaSpace open.
For Mac Computers
Click the Download for Mac link.
After the “KalturaCapture_(version).dmg” file is downloaded, double-click the file to open the installation window.
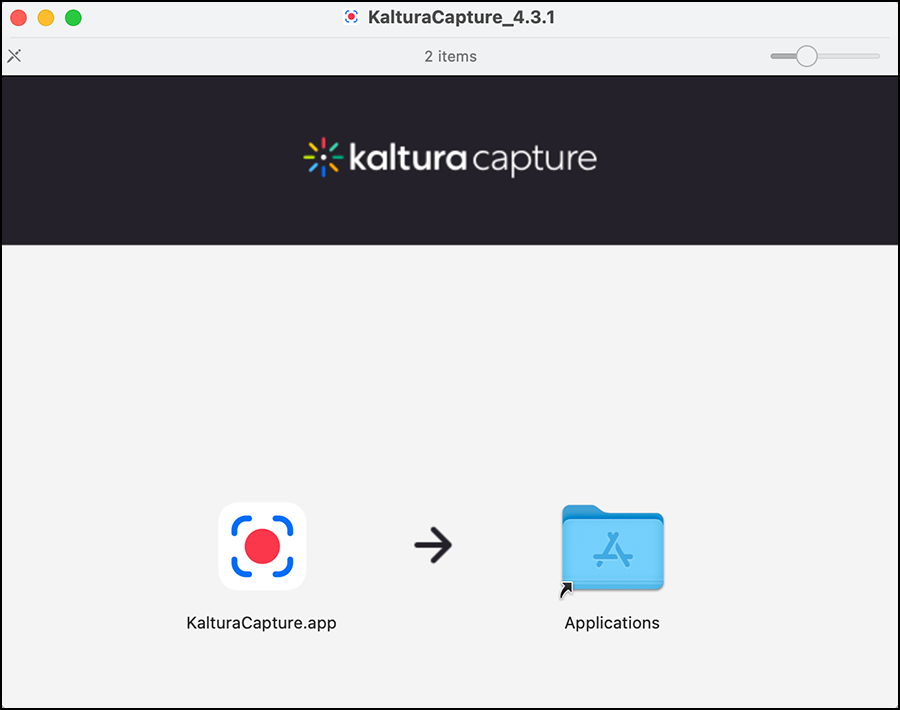
Drag the KalturaCapture.app file to the Applications folder in the installation window.
When installation is completed, the Kaltura Capture app will open and a shortcut will be placed on the computer’s desktop.
The MacOS requires Kaltura Capture screen recording, camera, and microphone security setting to be enabled.
Important: Quit the Kaltura Capture app. The security settings can only be changed when the app is closed.
Enable Mac Security Access for Kaltura Capture
Enable Screen Recording Permission
1) Go to the Mac computer’s System Preferences (the gear icon).
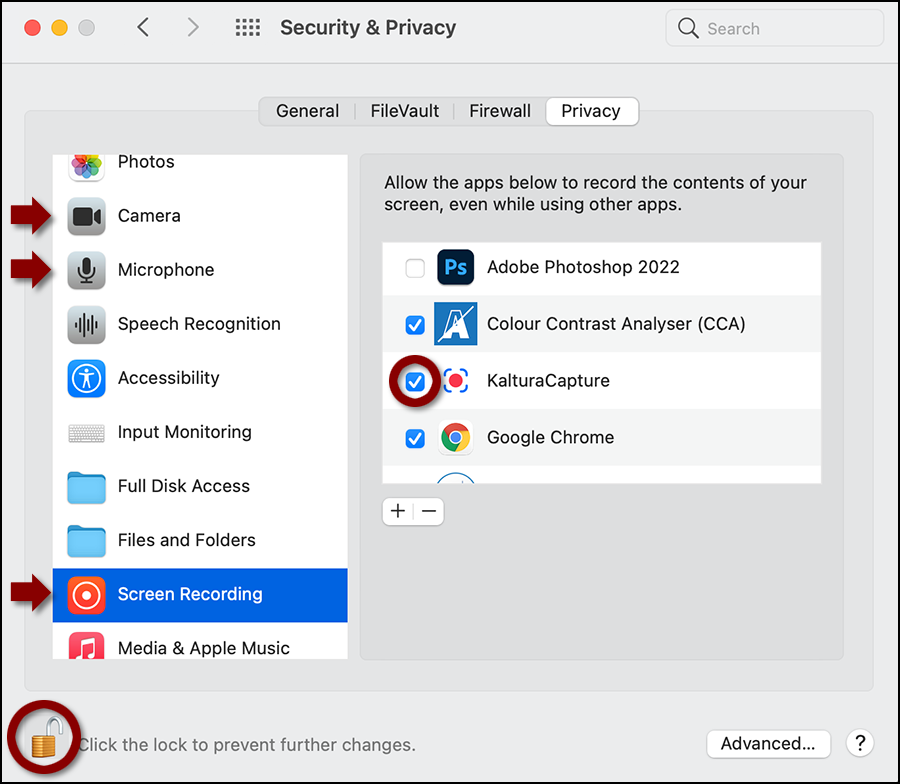
2) Click Security & Privacy and then select the Privacy tab.
3) Click the lock icon (bottom left corner) and use your computer password to unlock the settings.
4) In the left-hand column, click Screen Recording.
5) Check the KalturaCapture box in the right-hand column.
Enable Camera Permission
6) In the left-hand column, click Camera
7) Check the KalturaCapture box in the right-hand column.
Enable Microphone Permission
8) In the left-hand column, click Microphone.
9) Check the KalturaCapture box in the right-hand column.
10) Click the lock icon to lock the permissions and then close the window.
Connect the App to My Media
Note: The Kaltura Capture app must be closed.
3. In UNG MediaSpace, click the Add New button
4. Select Kaltura Capture from the drop-down menu.

5. Click the box “Always allow deti-media.ung.edu to open links of this type in the associated app.”
6. Click the Open KalturaCapture.app button.
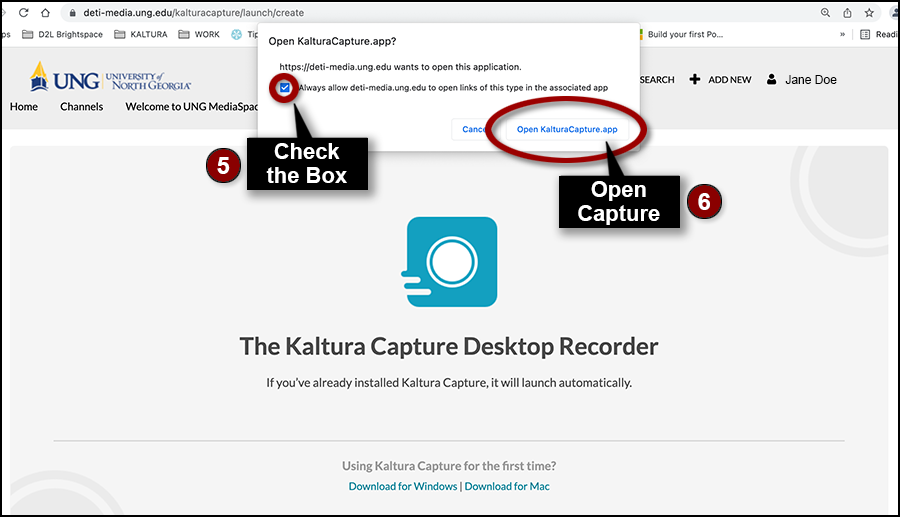
The Kaltura Capture app will open and is now associated with the user’s My Media repository.
Kaltura Capture will open automatically when using the Add New > Kaltura Capture link. Capture can also be opened using the desktop app icon.
Any recordings uploaded with Kaltura Capture can be uploaded to My Media, and are available in UNG MediaSpace and eLearning@UNG (D2L).
Kaltura Capture App Options
The Capture app provides an easy way to make recordings with a webcam-enabled computer. The camera, screen recording, and audio can be turned on or off as needed. Here are some of the possible combinations:
- Record Camera, Screen, and Audio (picture-in-picture format, the default setting)
- Record One Camera and Audio
- Record Two Cameras and Audio
- Record Screen or Partial Screen and Audio
- Record Two Screens and Audio
- Record Audio Only
- Record Video Only
- Record Screen Only
Computer System Requirements
Operating System – Windows 10 (64bit) and above, macOS 10.14 (Mojave) to 11 (Big Sur)
Memory – 4GB RAM
Storage – 1GB min
Resources
Previous story: UNG MediaSpace – Part 1: Log in and Upload a Recording to Kaltura
On myUNG (UNG login required)
Instructions: How to Use Kaltura Capture (PDF)
(Kaltura.com) Getting Started with Kaltura Capture